Kup stronę 60% Taniej
BLACK MONTH
BLACK MONTH
Do końca 2 DNI : 2 GODZIN : 2 MINUT : 2 SEKUND

Categories.
![]()
WebWave drag and drop website builder lets you create unique websites. You can build your website from scratch by starting with a blank page, or choose various website templates from our free collection and modify them according to your needs. With WebWave website builder, you have a complete website design and hosting system at your fingertips.
This website was created with WebWave.
Find us online
Contact.
Email us at:
contact@webwave.me
Or use the chat (Mon-Fri)
Website builder.
Offer.
Useful articles.
ECWID - Your online store
If you are planning to open your own online store, we are happy to inform you that WebWave editor gives you such an opportunity. Thanks to integration with the Ecwid platform, you can quickly and conviniently create an advanced purchasing platform. This tutorial will show you step by step how to do it.
- Account registration and store creation in Ecwid
- Store integration with WebWave
- Change the appearance of Ecwid elements
- Adding products
- Other store settings
Account registration and creation of a store in Ecwid
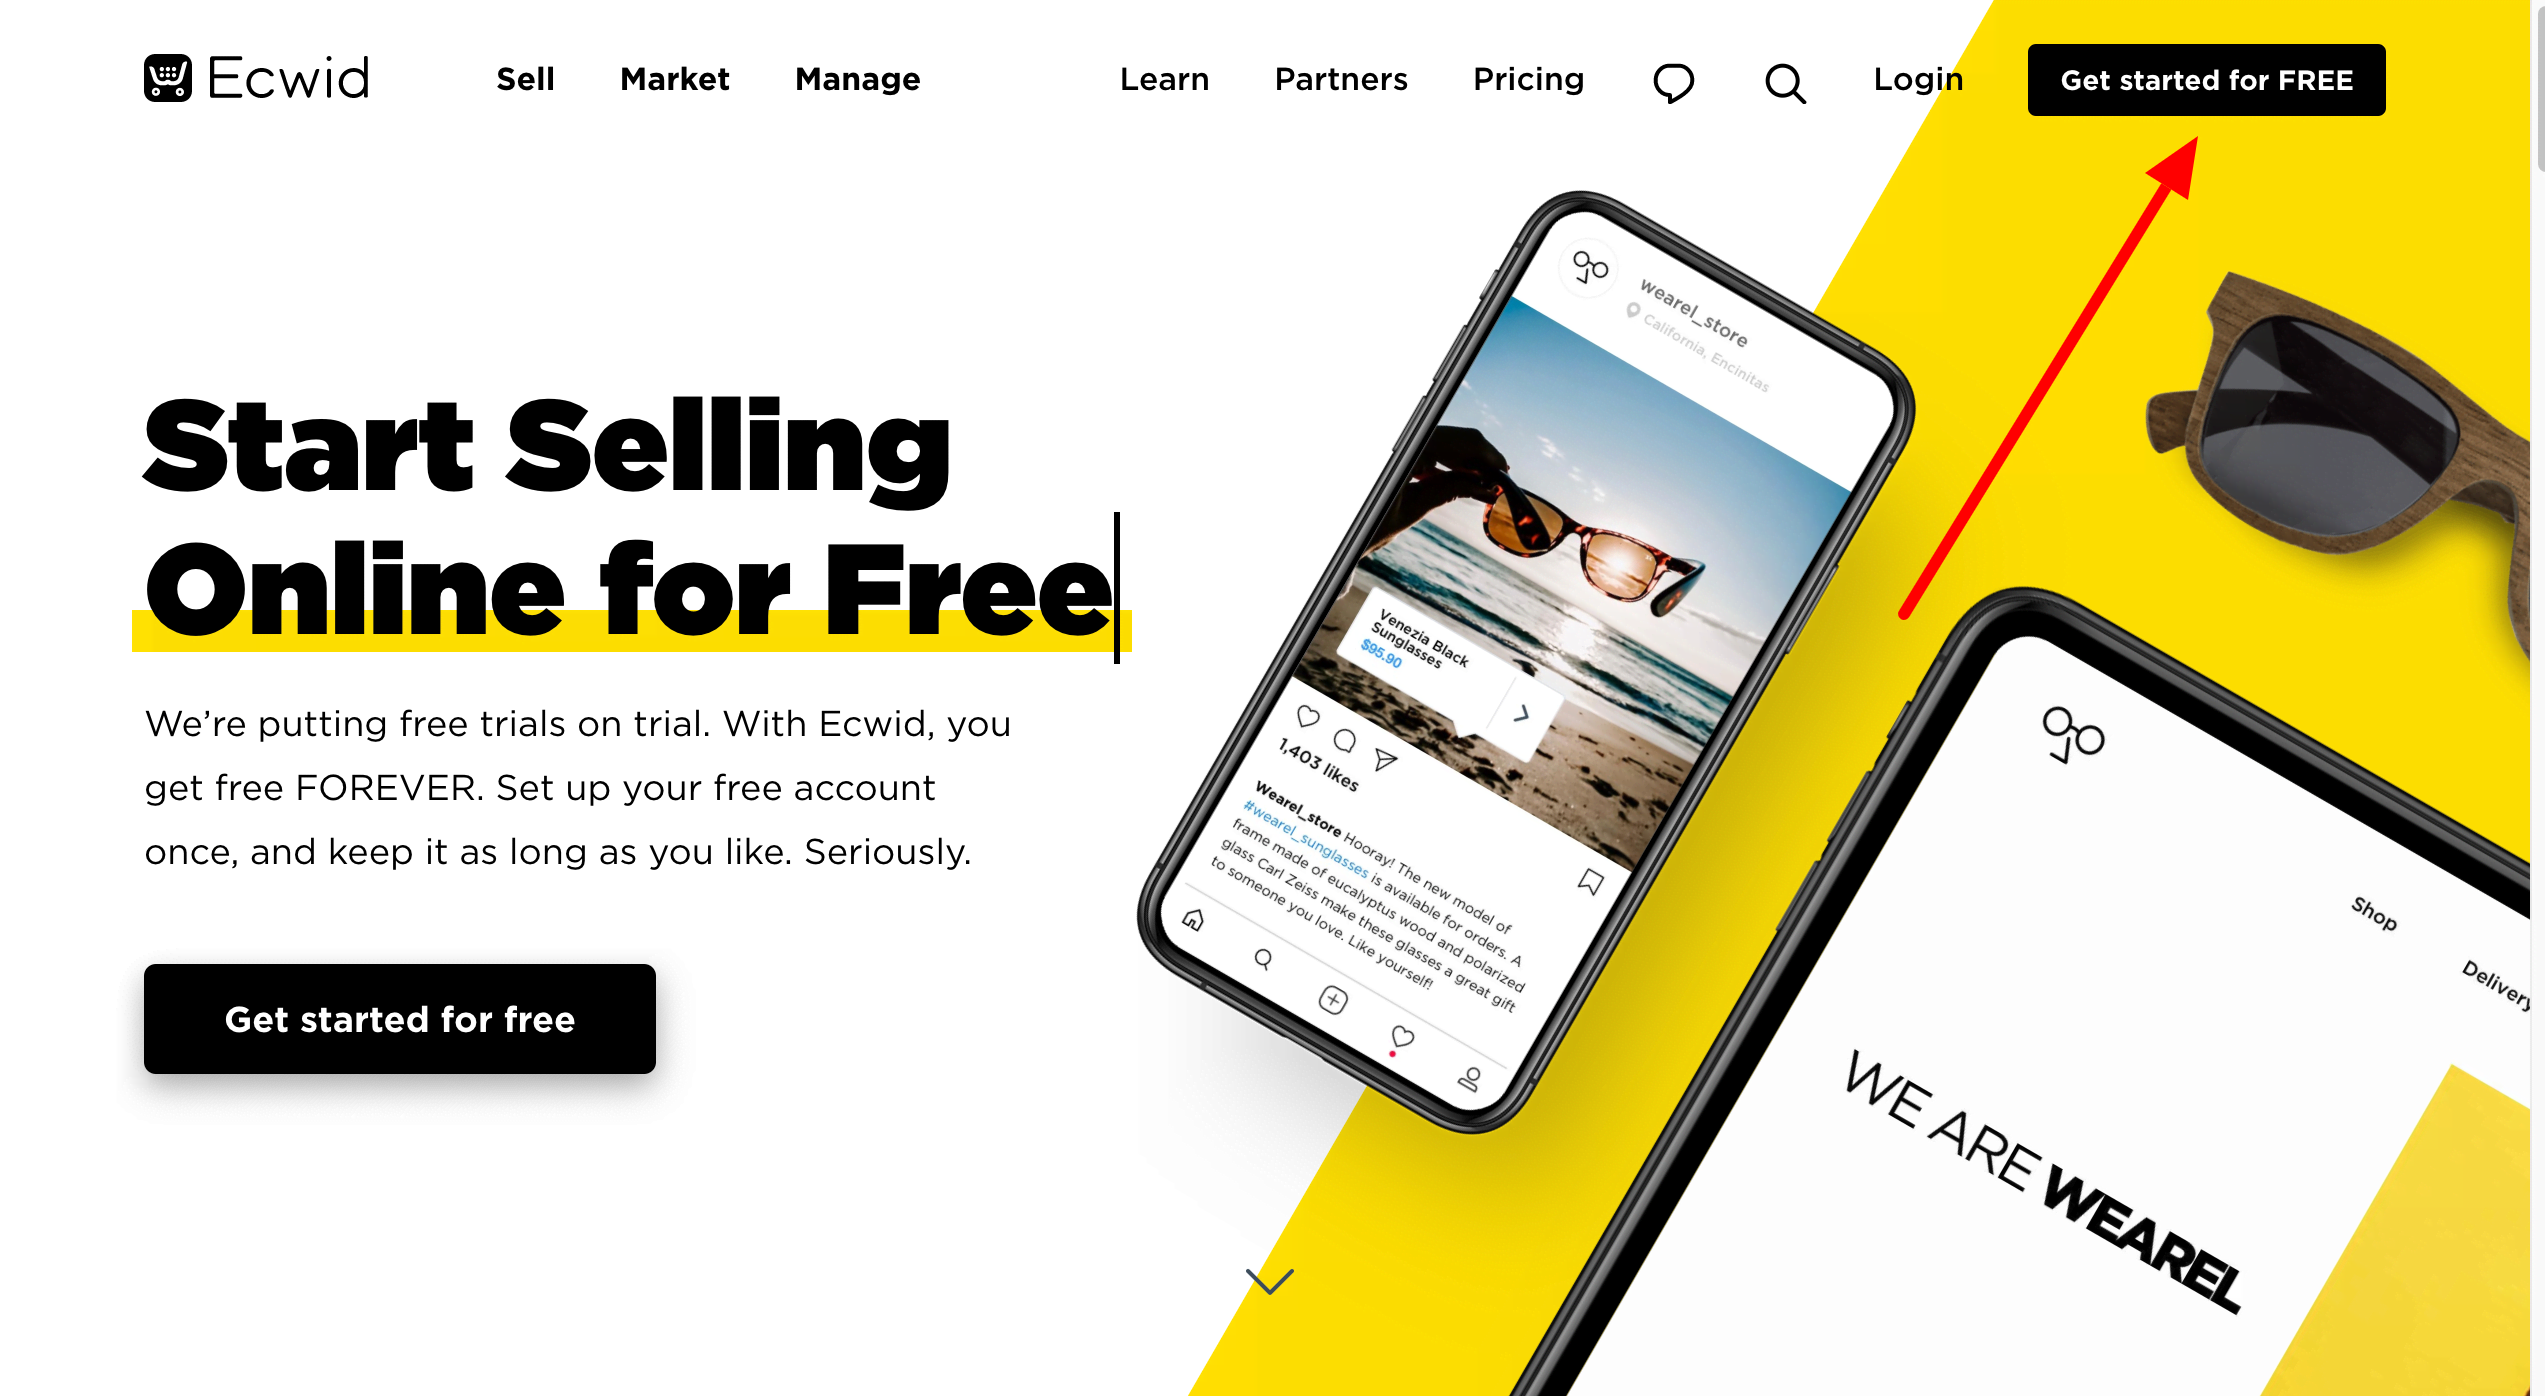
- The first step is creating an account in Ecwid. To do this, go to ecwid.com and then click "Start for FREE"
- Enter your first name, last name, email and password.
- Fill out the registration form specifying the name of the store, country and currency and then proceed.
- Answer a few additional questions related to the type of activity and product being sold. Select a different platform type and enter 'WebWave'.
- Congratulations! Your shop in the Ecwid system has been created
Store integration with WebWave
Adding a product list
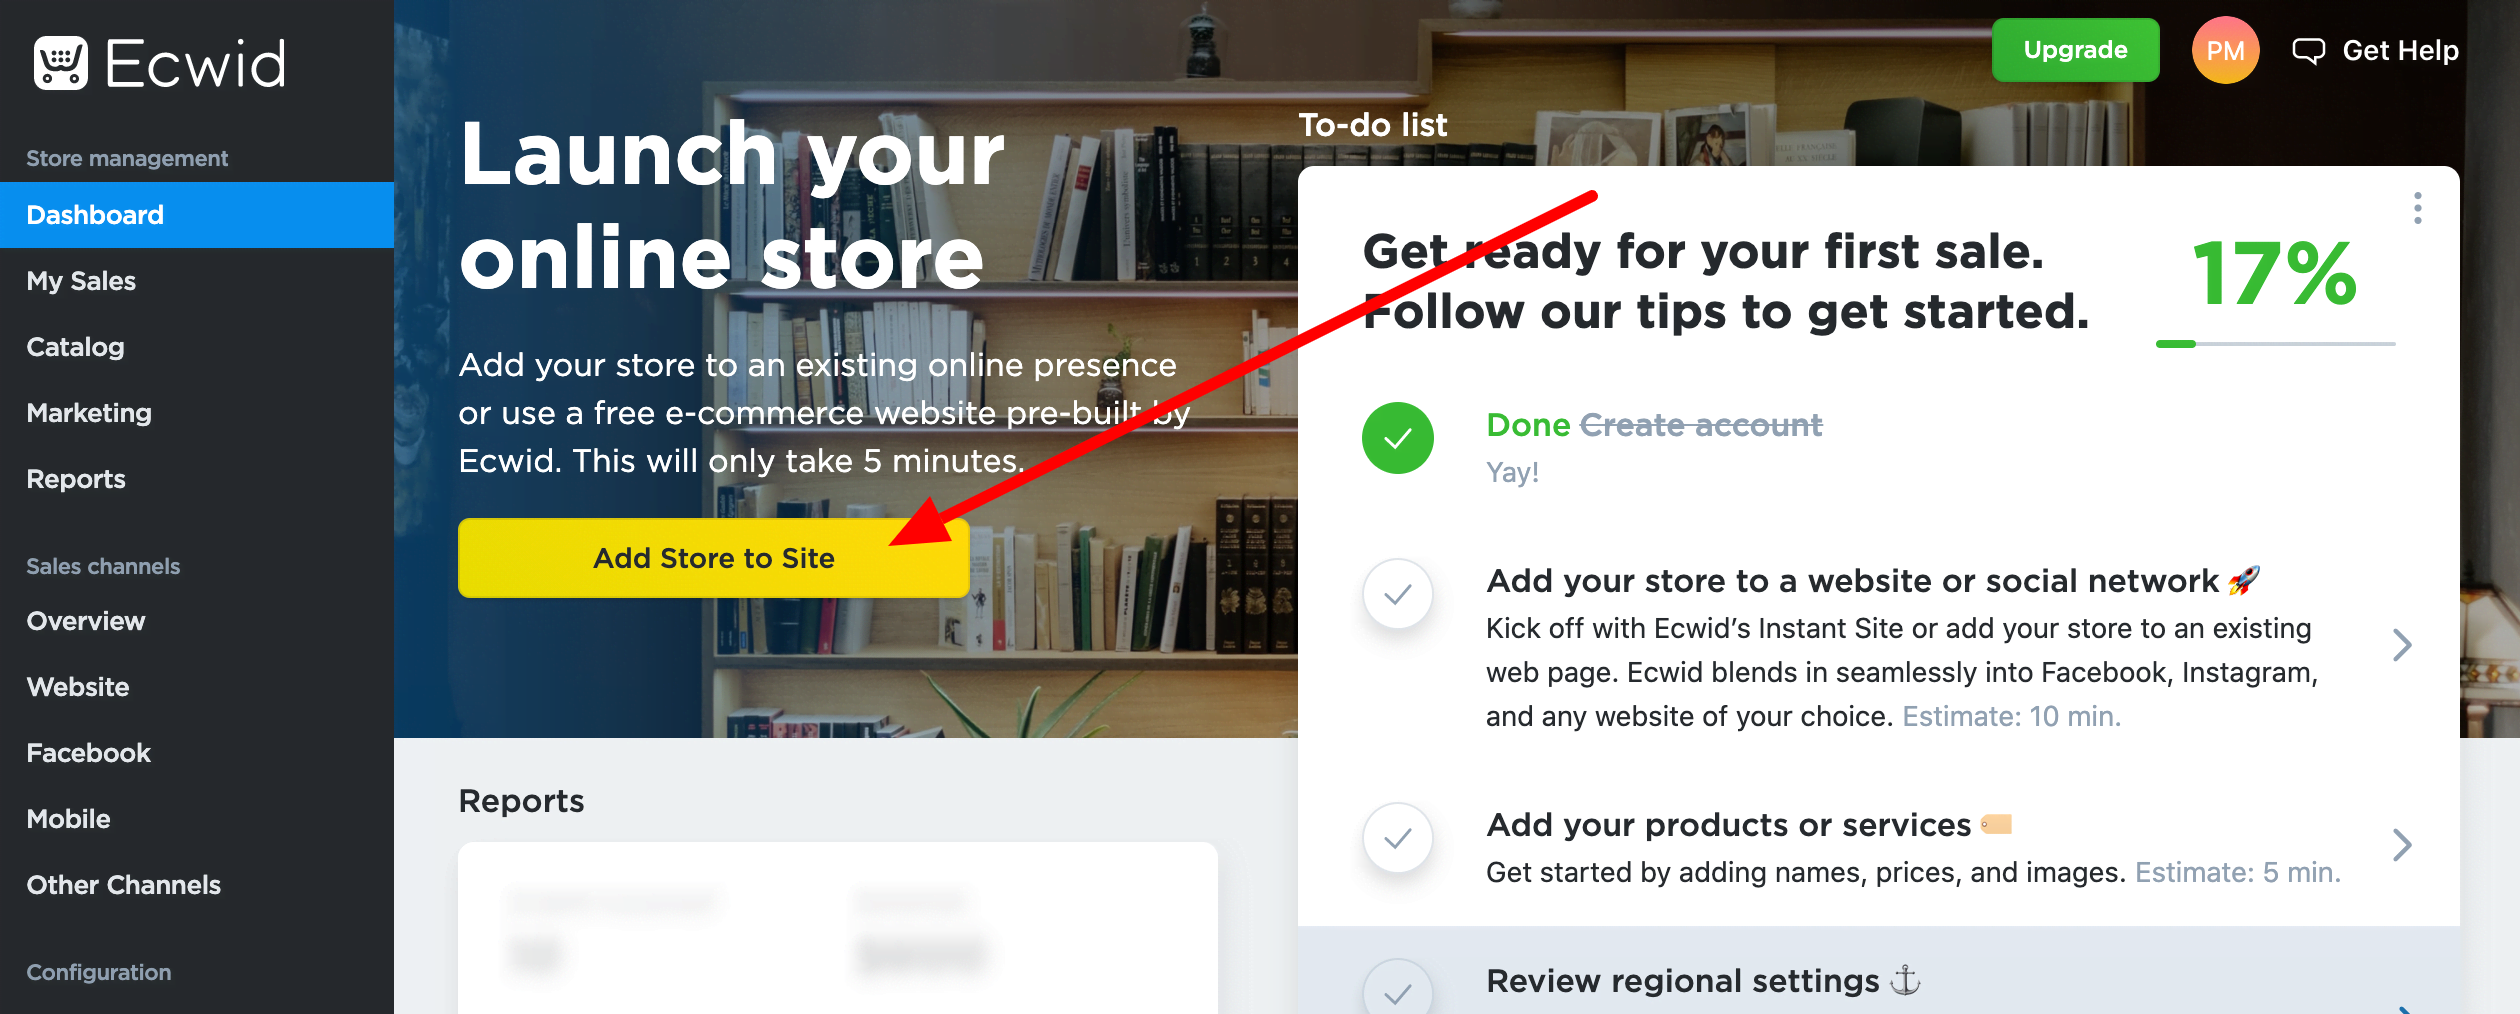
- Click the "Add store to Site" button.
- From the list of available tools, select "Other platforms and sitebuilders" by clicking "Learn more"
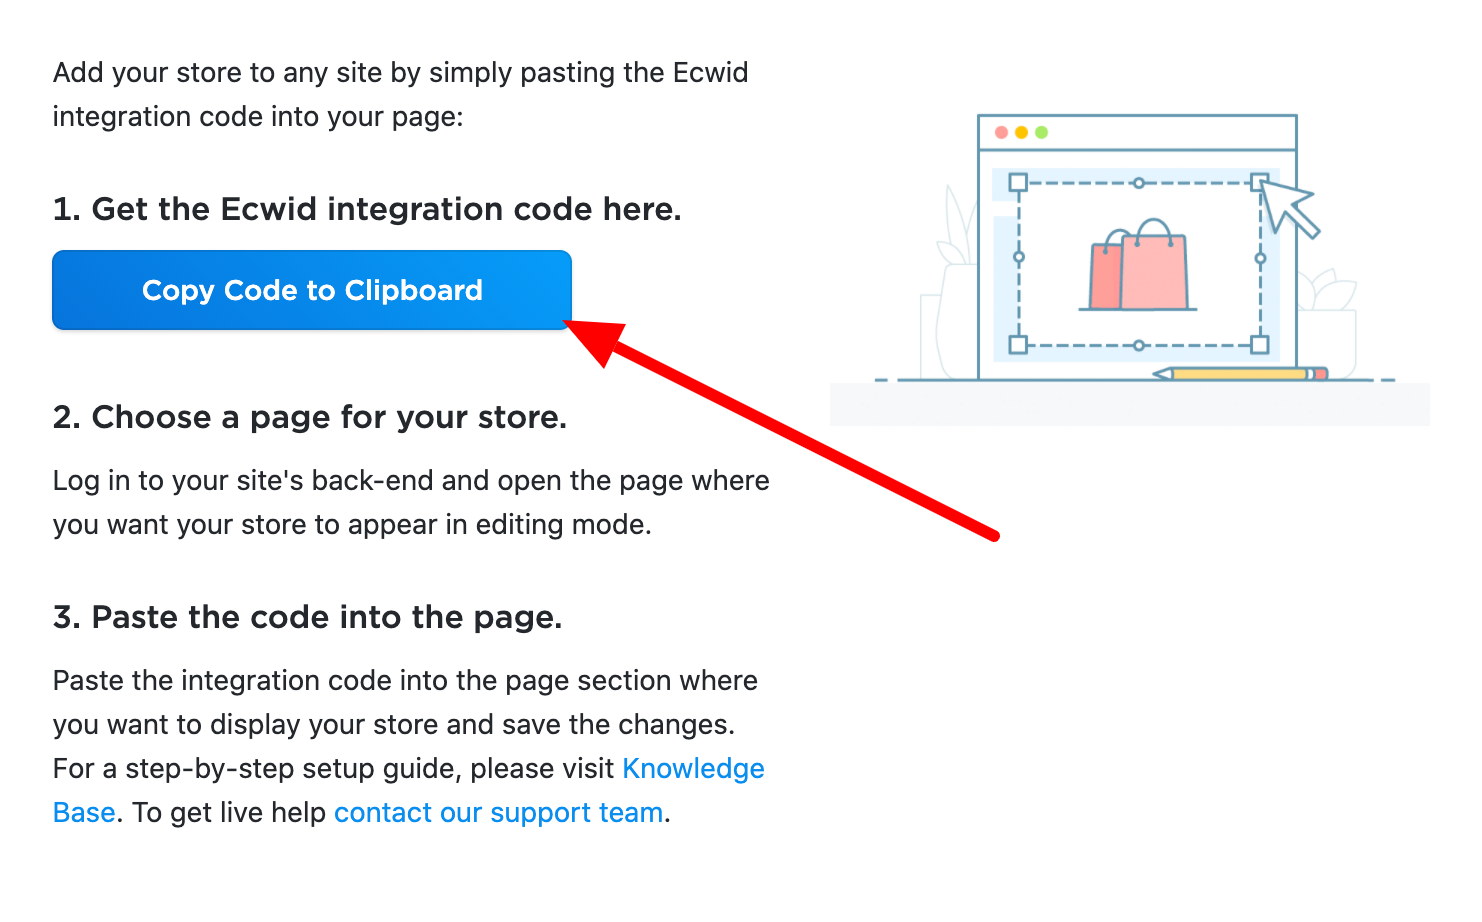
- Copy your store code by clicking "Copy Code to Clipboard"
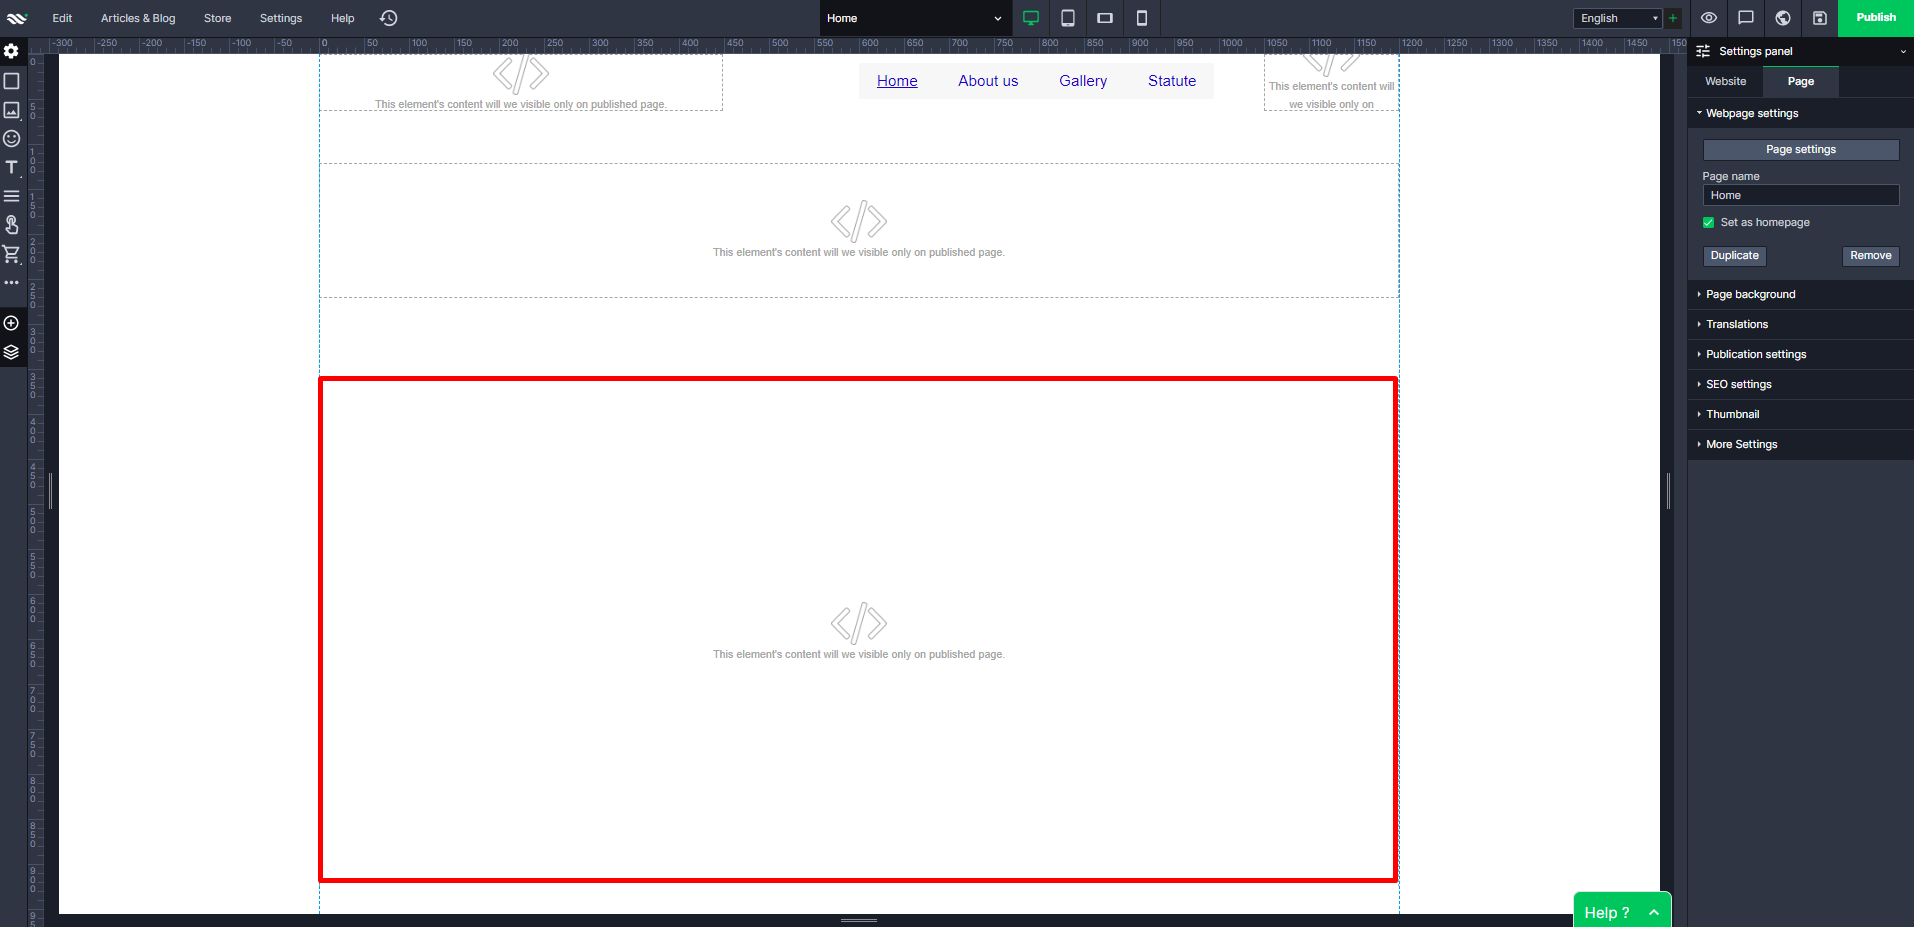
- On your website add an html element and paste the copied code there.
- The inserted element is a product list, so set its size and position in the appropriate place on the page.
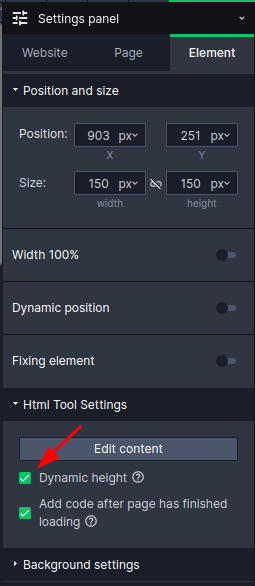
- In the html element settings enable the "Adjust height to content" option.
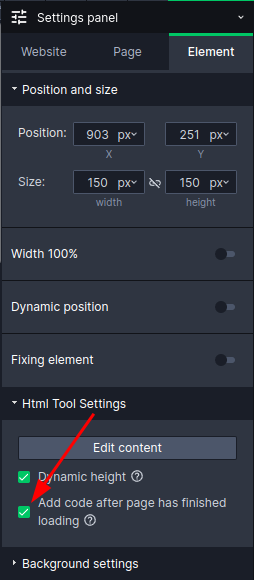
- In the "More Settings" tab disable the "Load JS code asynchronously" option.
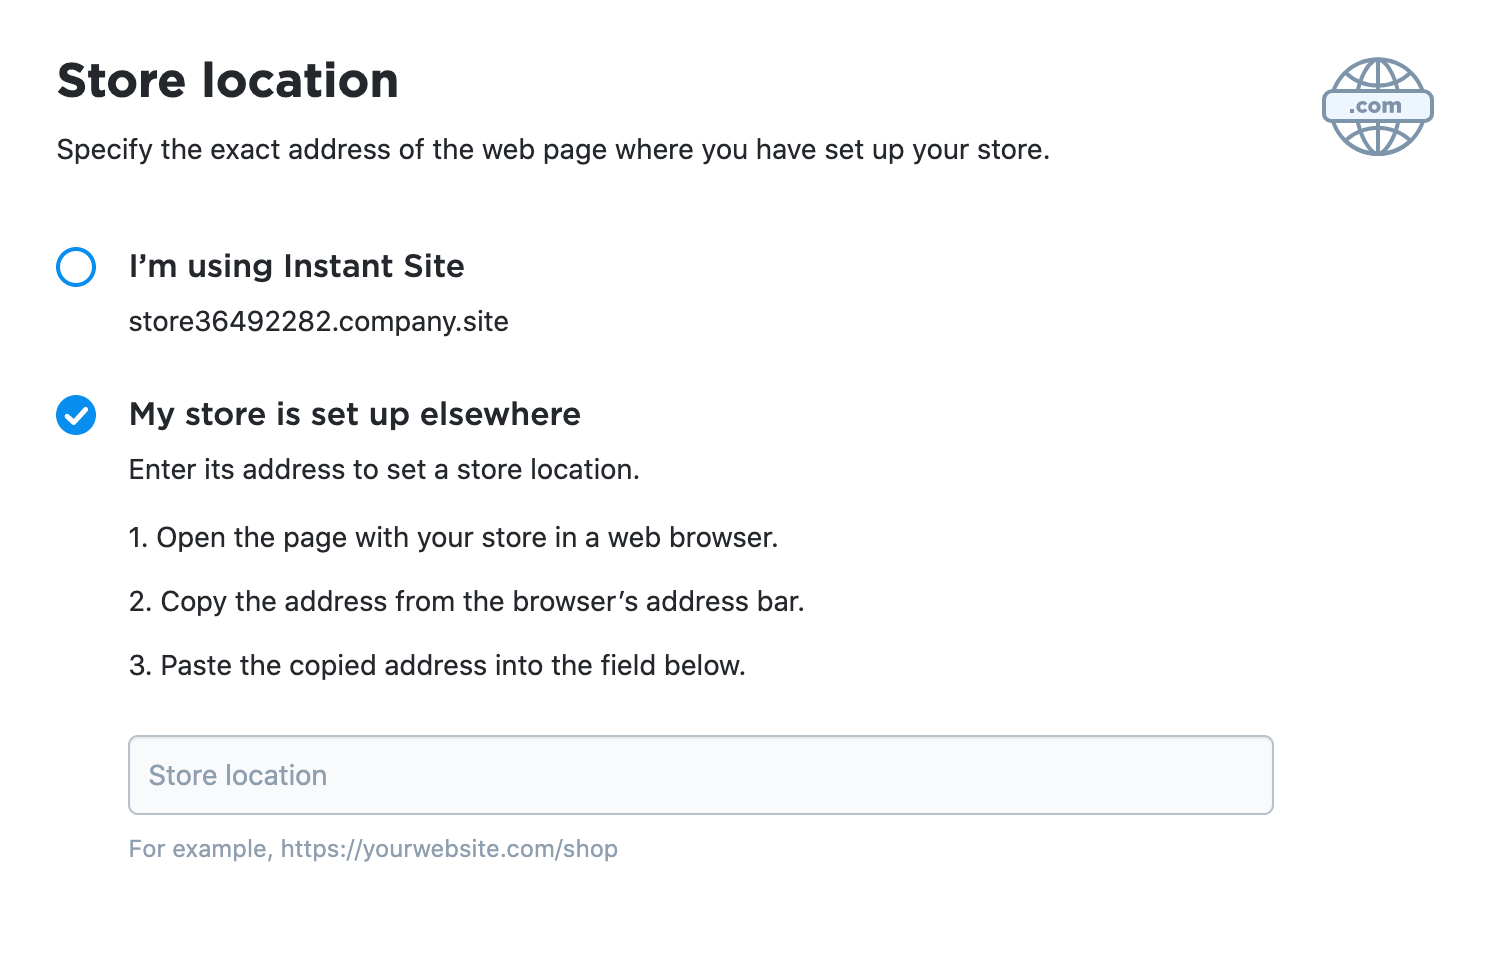
- In the Ecwid panel in the "Main store location" section click "Specify Address".
- Enter the address of your website where you set up the store and then save the changes.


Add a category menu
-
In the "Store extensions" section click "Add Category Navigation" and then copy the generated code.
-
On your website add an html element and then paste your code into it
-
The inserted element will be product categories, so set its size and position in the appropriate place on the page.
-
In the html element settings enable the "Adjust height to content" option.


Adding a shopping cart
-
In the "Store extensions" section, click "Add Shopping Bag" and then copy the generated code
-
On your website add an html element and then paste your code into it
-
The inserted element is the button of the basket, so set its size and position in the appropriate place on the page.
-
In the html element settings enable the "Adjust height to content" option.


Adding a search engine
-
In the "Store extensions" section click "Add Search Box" and then copy the generated code.
-
On your website add an html element and then paste your code into it.
-
The inserted element is a search engine, so set its size and position in the appropriate place on the page.
-
In the html element settings enable the "Adjust height to content" option.


Change the appearance of Ecwid elements
-
In menu on the left side of the screen in the "Configuration" section click the "Design" button.
-
On the subpage that shows up you can edit the appearance of every element of your online store


Every change made on this subpage will be immediately visible in your store, so there is no need to regenerate the codes and embed them on the page.
Adding products
-
In menu on the left side of the screen in the "Store management" section click "Catalog" and then "Products".
-
In the product list click the "New product" button.
-
Complete the product parameters.


As you can see, there are many product configuration options. Below you will find descriptions of their categories:
-
Attributes - here you can run your own EAN and product brand
-
Options - here you can add product variants such as size or color
-
Files - if you sell digital products (e-books, music etc.), you can add them here
-
Tax and shipping - here you can set shipping parameters and specify the tax rate for the product
-
SEO - here you can define how the products will be displayed in the search
-
Related products - here you can mark products that are displayed to your client as proposed products
-
Embed a button - here you can generate a code with a button for a given product that can be placed anywhere on the page
Other store settings
Since Ecwid is a very complex system, it is impossible to describe everything in one guide. We also recommend you reading the knowledge base of the Ecwid system